When you think about workouts, your mind might go straight to biceps, abs, or legs. But what about your fingers and wrists? Whether you’re a manual therapist, a musician, or someone who spends hours typing, your hands deserve just as much attention as the rest of your body. Today, we’re diving into exercises specifically designed to enhance the flexibility and strength of your fingers and wrists, addressing common issues like trigger finger and epicondylitis.
Starting with PAILs and RAILs: The Basics
Before jumping into the exercises, let’s talk about PAILs (Progressive Angular Isometric Loading) and RAILs (Regressive Angular Isometric Loading). These techniques are fundamental in improving joint mobility and strength. They involve stretching the tissue and then contracting the muscles at the end of the range of motion. This method is highly effective for joints that need a little extra love and care—like your wrists and fingers.
Exercise 1: Wrist Extension PAILs and RAILs
We begin with wrist extension, an essential movement for anyone working with their hands. Here’s how to perform this exercise effectively:
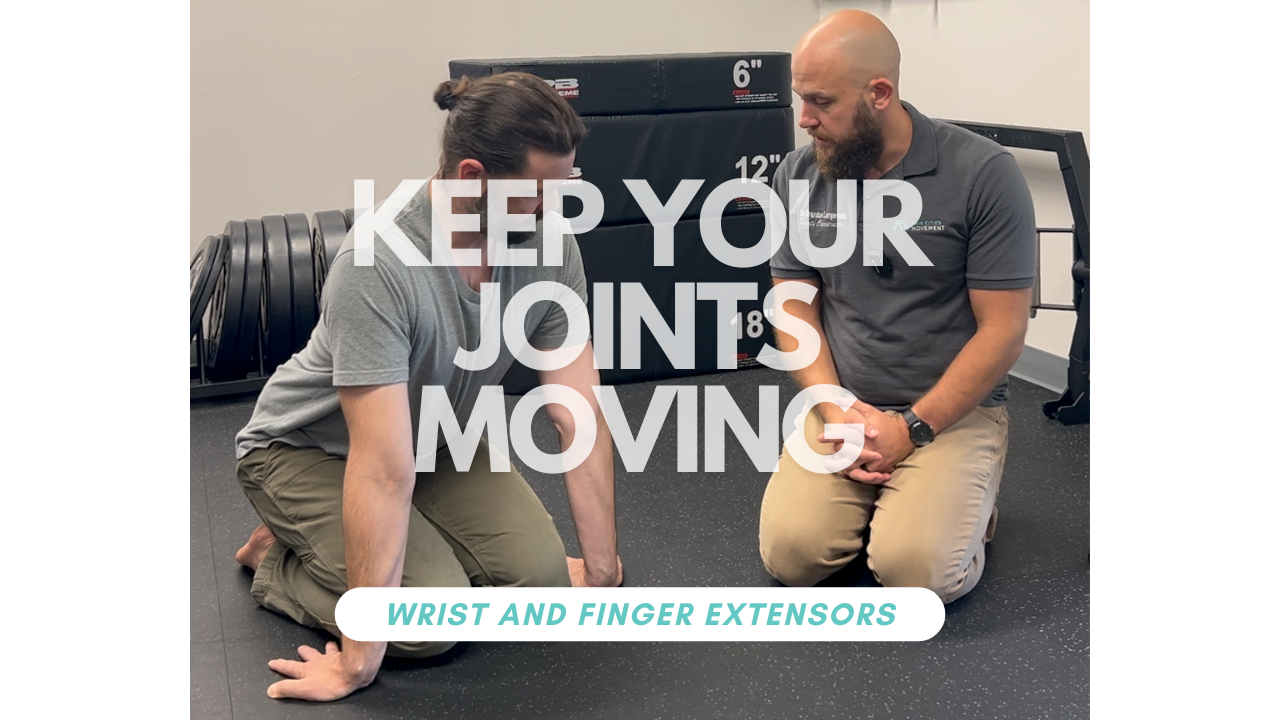
- Positioning: Start by placing your hands flat on the floor with your fingers spread wide. Your body should be positioned so that you can sit back and create a stretch in your wrists. Adjust the intensity by moving your hands forward or backward.
- Stretch: Hold this stretch for two minutes. While we’re not going to make you sit through the entire stretch here, trust us—it’s crucial for getting the most out of the exercise.
- PAILs Contraction: After two minutes, begin the PAILs contraction. This involves trying to press your fingertips and hands into the ground as hard as you can, engaging the muscles being stretched. Hold this isometric contraction for 4 to 8 seconds.
- RAILs Contraction: Next, attempt to lift your hands and fingers off the ground without actually moving them. This part of the exercise engages the opposing muscle group. You might find this challenging, but that’s the point—push yourself as much as you can.
- Repeat: Perform these contractions three times, with short breaks in between.
Exercise 2: Finger Band Passive Range Holds
Once you’ve opened up space in your wrists, it’s time to control and strengthen that new range of motion. For this, we use a simple finger band, which can be replaced with a rubber band or hair tie.
- Setup: Place the band around your fingers, ensuring each loop is secure around a finger.
- Stretch and Hold: Use your other hand to open your fingers as wide as possible against the resistance of the band. Hold this position for as long as you can, aiming for 30 seconds but starting with as little as 5 seconds if needed.
- Accumulate Time: The goal is to accumulate a total of 2 minutes of holding time. You can break this into multiple sets throughout the day, ensuring you don’t overexert yourself in one go.
- Repeat: Each time you start to lose the hold, use your other hand to help reset and continue. This consistent practice will significantly strengthen the muscles responsible for opening your hand.
Exercise 3: Finger CARs (Controlled Articular Rotations)
To finish, we move to Controlled Articular Rotations (CARs) for your fingers. This exercise ensures that the new strength and flexibility are functional and can be applied to everyday movements.
- Wide Hands: Start with your fingers spread as wide as possible.
- Isolated Movement: Move each finger individually through its full range of motion. For example, lift your thumb slightly off the floor and move it in and out, aiming for three to five repetitions per finger.
- Minimal Movement: The key is to keep the movements small and controlled, just barely lifting the fingers off the floor. This isolates the extensor muscles and prevents compensation from other parts of the hand.
Repeat: Perform this exercise for each finger, paying attention to any that struggle more than others. You’ll likely notice differences in control and strength between fingers—this is normal and will improve with practice.
Why These Exercises Matter
Regularly performing these exercises can help alleviate and prevent conditions like trigger finger and epicondylitis. By focusing on both flexibility and strength, you’re not just making your hands more resilient; you’re making them antifragile. This means they’ll not only withstand stress but also get stronger from it.
Practical Tips
- Consistency is Key: Incorporate these exercises into your daily routine. It doesn’t have to be a long session—even a few minutes can make a difference.
- Listen to Your Body: Pay attention to any pain or discomfort. These exercises should challenge you but not cause pain. Adjust the intensity as needed.
- Gradual Progression: Start with what you can manage and gradually increase the duration and intensity. Your hands and wrists will adapt and get stronger over time.
Integrate with Other Movements: Combine these specific exercises with your regular workouts to ensure balanced strength and mobility throughout your body.
Final Thoughts
Our hands are incredible tools, capable of precise and powerful movements. By dedicating time to strengthen and maintain their flexibility, you’re investing in your overall health and functionality. Whether you’re gripping a gardening tool, hiking with poles, or performing yoga poses, having strong, flexible wrists and fingers can enhance your ability to enjoy these activities without discomfort or injury.
Remember, like any part of your body, your hands need regular maintenance and care. So, the next time you think about your workout routine, don’t forget to give your fingers and wrists the attention they deserve. With these exercises, you’re not just preventing problems—you’re empowering your hands to perform at their best.
