hip mobility inver grove heights rehab chiropractor

Hip mobility is essential for everything from daily activities like walking and sitting to performance in sports, yoga, and other physical activities. Stiffness or limited range of motion in the hips can lead to discomfort and even injury. In this ever-evolving blog series, we’ll take you through a step-by-step process designed to improve your hip mobility, focusing on key exercises such as PAILs and RAILs, passive range holds, and hovers.

The intention here isn’t to have you doing all of the exercises we put here, more to give you options that you can then explore in-depth, based on your own needs.

Let’s dive in!

Step 1: Hip External Rotation – 90/90 Position

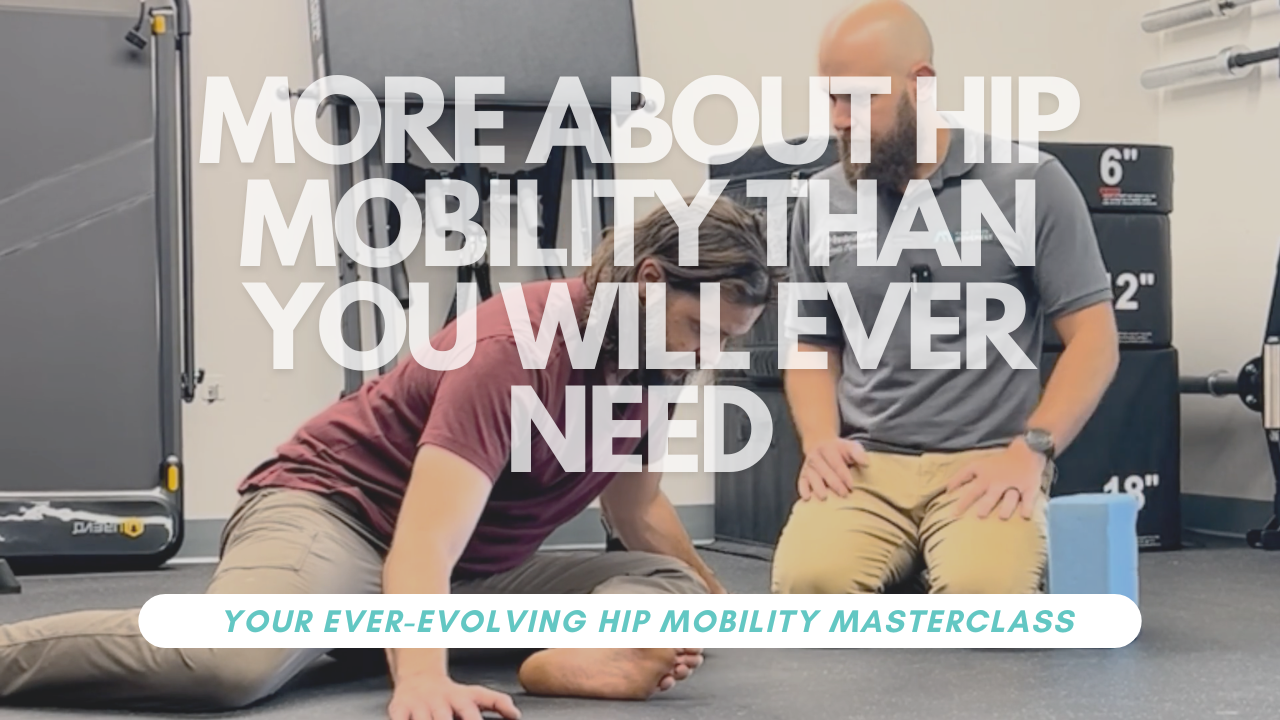
We start with hip external rotation, one of the most important components of healthy hips. To do this, we’ll use the 90/90 position—a versatile stretch that allows you to modify the intensity based on your needs.

The 90/90 Setup:

  • 90 degrees at the front hip: Your front leg should be bent at a 90-degree angle, with your thigh straight in front of you and your shin perpendicular.
  • 90 degrees at the back hip: Your back leg is also bent, forming another 90-degree angle with your body.
  • Your spine should be as upright as possible. If this is difficult, use a yoga block to sit on, which elevates your hips and helps you stay tall.

If the position is too easy, you can increase the difficulty by elevating your front foot (keeping the knee on the floor). Conversely, if it’s too challenging, modify the pose by using yoga blocks under your hands for support.

PAILs and RAILs in the 90/90:

PAILs (Progressive Angular Isometric Load) and RAILs (Regressive Angular Isometric Load) are techniques that combine static stretching with active muscle engagement, making them incredibly effective for improving mobility.

  1. Get into the 90/90 position with your spine tall and belly button pulling forward at a 45-degree angle.
  2. PAILs contraction: Start by pushing your front knee and foot down into the floor as if you’re trying to crush the ground beneath you. Ramp this effort up slowly—start at 10% of your maximum effort and increase to 80% over the course of 4-6 seconds.
  3. RAILs contraction: After holding the PAILs contraction, reverse it. Now, think about lifting your front leg off the ground (though it won’t actually move). This will pull your torso slightly closer to the floor.
  4. Repeat for 3 sets: Each time, you’ll notice you can go a little deeper into the stretch. Deep breathing helps your body relax into the new range.

Pro Tip:

Your foot might tingle a bit from the stretch. As long as it’s just that pins-and-needles sensation and not pain, you’re fine. If it becomes painful, ease off slightly.

The Passive Hold:

Once you’ve completed your PAILs and RAILs sets, it’s time to solidify the gains you’ve made. Stay in the stretch for a full minute, focusing on deep breathing and relaxation. This tells your nervous system that the new range of motion is safe, which is key to long-term mobility gains.

    Step 2: Passive Range Holds for Hip External Rotation

    Once we’ve increased your external rotation with PAILs and RAILs, we need to learn how to control that new range. This is where passive range holds come into play.

    1. Position yourself in 90/90, or have someone assist you if possible. Your goal is to lift the front leg (foot off the ground) while keeping the knee down.
    2. Isometric hold: Have a partner lift your foot or use a strap to pull it to the highest point you can manage. Then, engage your muscles to hold that position for as long as possible—usually 4-5 seconds.
    3. Repeat for 3-5 reps: Each time you lift, your ability to control your range will improve.

    Step 3: Hover Drill

    Now that we’ve gained mobility and control, it’s time to challenge your range with a hover drill. This helps further solidify and strengthen the new motion.

    1. Set up in 90/90 with a yoga block or a small object just in front of your front foot.
    2. Hover: From this position, lift your foot, keeping your knee down, and try to hover it over the object.
    3. Return to start: After clearing the object, lower your foot slowly and with control.

    Repeat for 5 reps: Each time, try to lift a little higher or move a little smoother. If this becomes too easy, raise the height of the object to make it more challenging.

    1. Consistency is Key: Incorporate these exercises into your daily routine. It doesn’t have to be a long session—even a few minutes can make a difference.
    2. Listen to Your Body: Pay attention to any pain or discomfort. These exercises should challenge you but not cause pain. Adjust the intensity as needed.
    3. Gradual Progression: Start with what you can manage and gradually increase the duration and intensity. Your hands and wrists will adapt and get stronger over time.

    Integrate with Other Movements: Combine these specific exercises with your regular workouts to ensure balanced strength and mobility throughout your body.